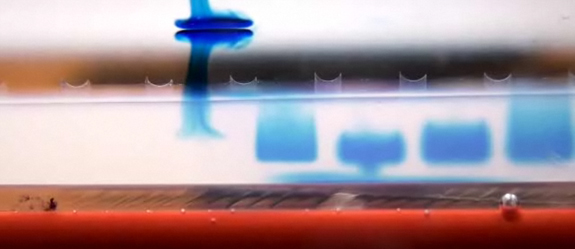
DNA Electrophoresis Sample Loading
by
The Video:
The DNA electrophoresis video is in two parts. The first being the overview of electrophoresis and the second being an up close loading of samples in a gel. The reason for the first part is because I needed to fill in time and I wanted to see how well the video would time compress. I like playing around with that stuff, so I just did it. The second part was to take advantage of my new High Definition(HD) camcorder.
The Reason:
I made this video a year ago, so one must ask why I did it. The simple reason is because it makes my life easier and I want to make others’ lives easier too. I teach lab courses in a Biotechnology Program at a Community College (Kirkwood Community College in Cedar Rapids, IA). I want my students to interact and see stuff outside of the classroom (lab) and that is hard with techniques. Also, it is important for students to see what can go wrong so they can troubleshoot it. In addition, I always hear from my colleagues who are teaching academic courses with labs that their students don’t know how to load gels. I have also learned that to tell a student “Don’t poke your pipette through the bottom of the gel” means nothing to them. They have to see it. Standing ten feet away during a demonstration doesn’t do much; however, seeing it up and close on a video can help. They are at least aware of what it is and why it is bad.
The Idea:
I watch a lot of YouTube videos and every time I watch one I noticed they always show it working. However, in real life that doesn’t always happen and when it doesn’t happen the way it is suppose to, it really confuses students. So, I thought gel electrophoresis would be a great start. It is always preached to avoid getting air bubbles in your tip; don’t poke the tip through the gel; don’t shake, etc. So, I thought I would try to show that, and I think I did. I tried to capture the most common situations: normal loading, bubbles in the tip, poking the tip through the bottom, etc. I’m thankful that a friend of mine reminded me to include the floating organic solvent sample, especially since it happened to me when I was first learning how to run gels.
Getting It Done:
Filming the video was easy, but getting to that point took a lot of convincing. The standard definition camcorder I was using did not allow me to get close to the gel well, and it didn’t really show what was going on. So, I needed to convince my Dean that I should get a High Definition camcorder so I can do these videos and show techniques up close. Thankfully, he understood and it worked out. However, I learned that working with and rendering HD video is a lot different than working with SD video. So I had to get the right video editing software and had to upgrade my computer. Otherwise, all I did was mix some different samples, set the camera right up to the side of the gel box and film as I loaded.
.
Greg has a B.A. in Biology from Luther College in Decorah, IA. He then went on to receive a M.S. in Molecular Physiology and Biophysics and a M.A.T. in Science Education from The University of Iowa. After graduation Greg went on to serve four years as a high school Biology teacher. He then returned to The University of Iowa to work as a Research Assistant in a lab studying eye disease using a mouse model system. He is currently the Coordinator of Biotechnology at Kirkwood Community College in Cedar Rapids, IA.


